Padded Coat Hanger Tutorial
I have been making these coat hangers to give as gifts, and they really are simply quite lovely.
You will need 1/4 metre or yard of fabric
1/4 metre or yard of light quilters batting or needle punch batting
A wooden coat hanger
Piping, purchased or make your own using coordinating fabric
A small quantity of narrow ribbon.
This is my pattern for you, print it out actual size A4 paper. I di have this patten on 'Craftsy' as A PDF but they have closed my shop.
I purchased adult wooden hangers as I couldn't get child's and we cut the ends off to make a 11.5" or 29cm hanger.
Measure the pattern pieces against the coat hanger as these can be varying lengths you may need to make it shorter than my pattern. Cut 4 Ends from your fabric Cut 4 Ends from your batting
Using 1/4 " seam sew the batting onto the back of all your end pieces, remembering to flip your pattern so you have two lefts and two rights.
Pin your piping on to one left and one right end piece, clip piping to follow the curved end. Sew in place using just over 1/4" seam, start your piping at the fold line, [see photo above] remembering your fold line might be different from my pattern.
Lay the piped end on top of other end right sides facing, pin then sew leaving base open for turning. If you do it this way you can follow the stitching lines
Clip curves up to your stitching line then turn through, I use a chop stick as it has a blunt end it won't poke through your work [no scissors].
At this stage I give my work a press then fold under the ends and slide onto the hanger
Slip stitch the two ends together and secure threads with a hidden knot to finish off.
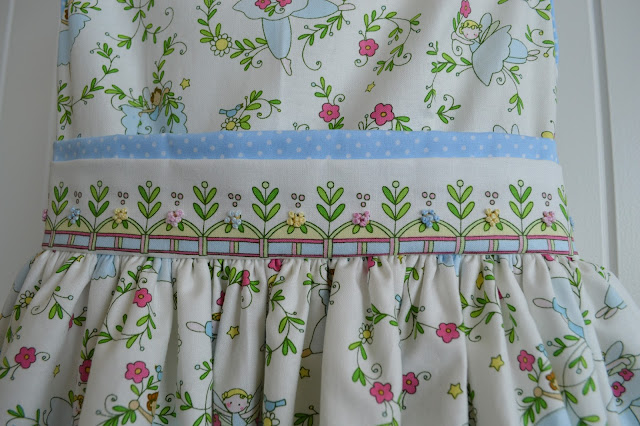
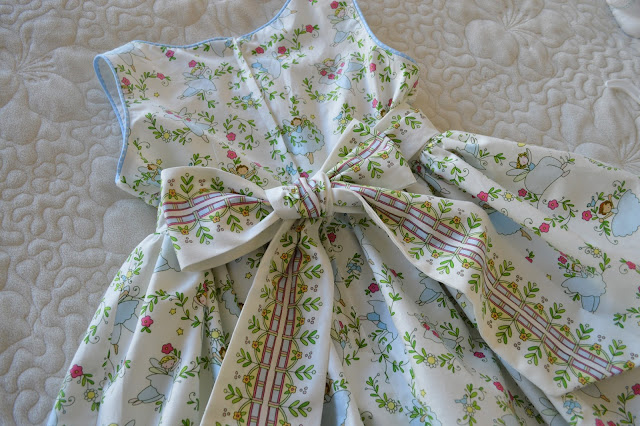
You can see I have used different fabric at the back of my hanger to coordinate with my little dress see HERE
Using satin ribbon tie around to hide the join and finish off with a bow.
They are a lovely addition to any wardrobe, and if you match it to any outfit, just gorgeous!!
Happy Sewing
Glenis


