Hints and help for creating beautiful and robust soft toys and dolls
I love to sew for children and one of these loves is of course toys.
I am hoping that these practical hints will give you the confidence to get started.
Tip 1. Preparing your fabric.....Press and starch, in my opinion starching is a must, the fabric is wrinkle free, crisp and easy to cut especially little pieces.
Tip 2. Fabric 'straight of grain'.....Please follow the straight of grain references on the pattern pieces and cutting instructions.
Cotton, linen and all other woven fabrics have a 'straight of grain' which is in the direction of the weft threads.
The weft threads run parallel to the selvedges and the warp threads run across the width of the fabric. The weft threads are stronger and more stable while the warp threads add more give to the fabric. I often use Minky (velour)and fleece fabric in my toys and they too have a greater stretch across the width of the fabric so the same rule applies.
Tip 3. Accurate cutting.....It's so important to cut these small pattern pieces exactly on the lines because any deviations can completely change the shape of a foot or little face etc.
Tip 4. Stitch length....Set your machine to a small stitch I set mine to 2, this keeps the seams firm and robust enough to hold the stuffing in and cope with loving handling.
Tip 5. Back stitch....Reinforce the beginning and ends of every seam with back stitch, it will prevent the seams unraveling while constructing and stuffing the toy.
Tip 6. Seam allowance....If the pattern states 1/4 '' seams please stick to this or the feet won't fit the end of the legs, the collar won't fit the jacket etc. Most toy and craft patterns including mine have 1/4 '' seams unless otherwise stated.
Tip 7. Construction.... Read the pattern through first as it really gives you a feel for your project then follow the sequence as laid out in your pattern 'step by step' guide. Most pattern designers have worked hard to achieve the best way to construct the toy.
Tip 8. Curves and clipping seams....You can't make a doll or a rabbit without dealing with sewing curves, the secret is to take your time and have your machine needle set in the down position so you can lift the foot and pivot carefully around the curves. Don't stretch the fabric just guide as you stitch. Clip curves carefully but not to close to the stitches.
Where the head meets the neck is the trickiest part so clip carefully but not through the stitching line...this is why back-stitching at the beginning and ends of each seam is so important.
Tip 9. Stuffing....I always use cushion inners for my stuffing, the stuffing is hypoallergenic and has a much softer feel than specific toy stuffing. You can buy cushion inners at most household linen type shops.
Tease out the stuffing and push in small amounts at a time. Push the stuffing up into the head first and manipulate it to get the desired shape, the neck needs to be quite firm to hold the head and then stuff the rest of the toy.
Tip 10. Finishing and hand sewing....Once the stuffing is done close up the openings with very small and close together stitches, ladder or slip stitch is best hide your knots and ends inside the toy.
Embroidering the face is pretty simple but it is the key to a cute look so take your time, you can mark the face details with a fade away pen if this helps. I use simple stitches like back stitch, satin stitch and sometimes French knots for freckles.
If I add blush to a doll I use pink craft ink dabbing it on with a cotton wool ball. Please practice on a scrap of fabric first to get a light look... just a hint of pink, if you are heavy handed it can mean disaster. 😕
I haven't dealt with sewing the dolls clothing in my ten tips but all the above principles apply, precise cutting, seam allowance, backstitching and neat finishing off.
 |
| Adding the cute look to 'My friend Molly' bunny. |
 |
| 'My friend Molly' dressed bunny |
 |
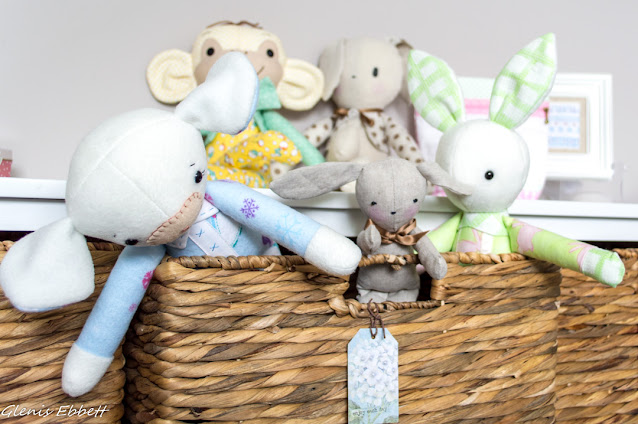
| A basketful of delightful toys. |
 |
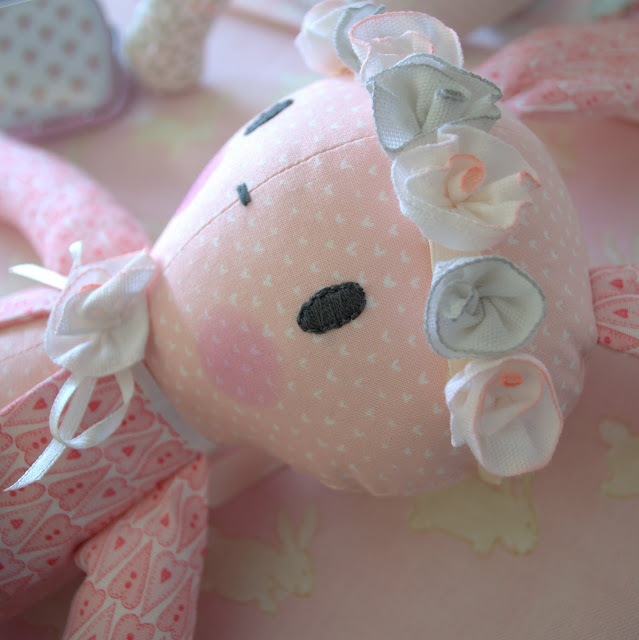
| All the joy captured in that sweet face. |
 |
| Poppy dolly. |
 |
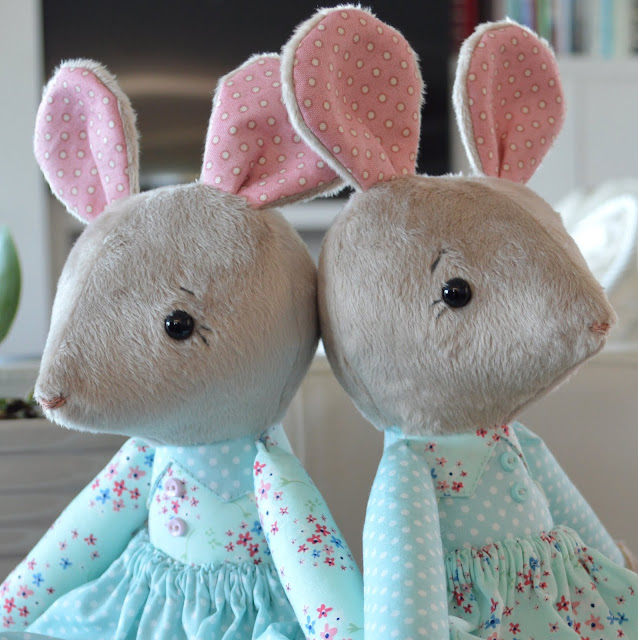
| Sewing the face details 'Kerah Rabbit'. |
 |
| 'Bobby Bunny' with her halo of flowers. |
These are just a few of my patterns that are available in my Etsy shop , I do try very hard to make them easy to follow, lots of 'how to' photos and 'step by step' instructions.
Hopefully you will practice these simple tips to get that professional look and the joy of creating.
Happy Sewing
Glenis


